-
From the Navigation panel (if in Bordereaux), click Lookup Data.
-
Click New Lookup.
-
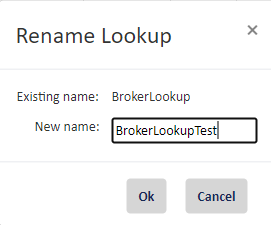
Choose a new name by overwriting the placemark text, NewLookupName. Click OK.
Click the image to change its size.

-
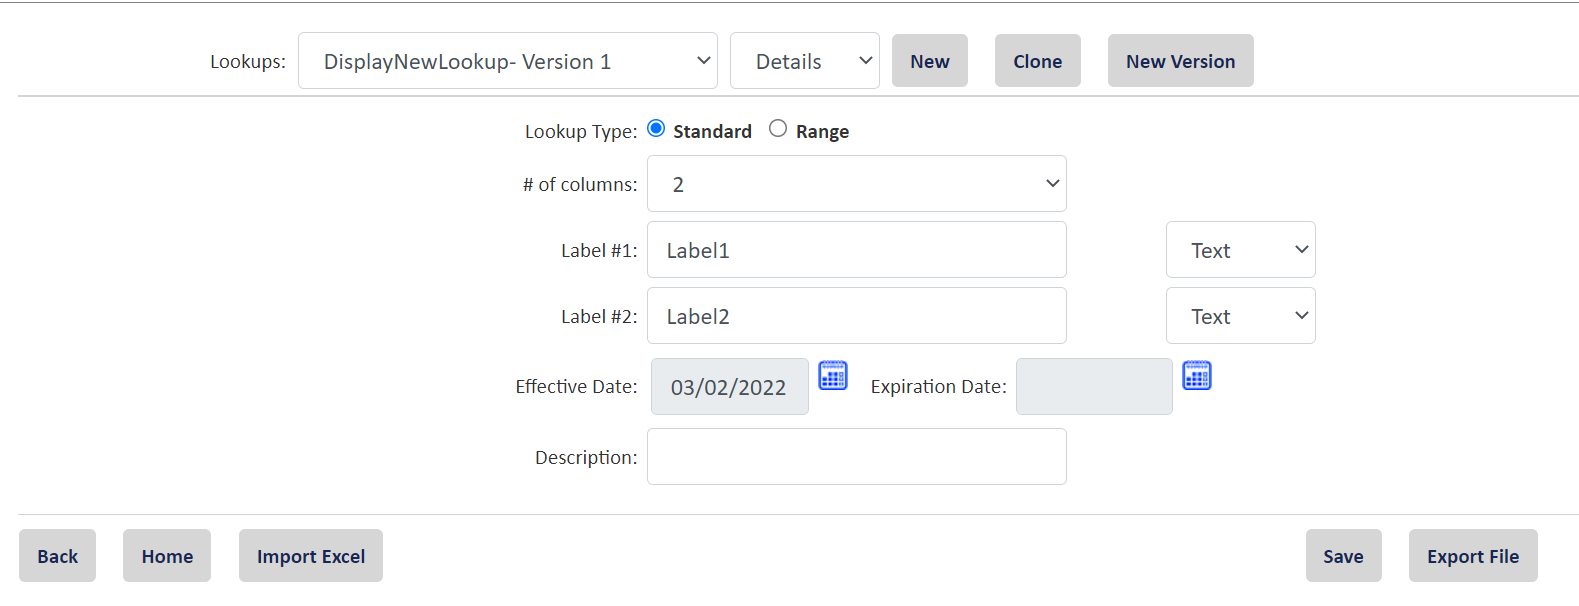
Complete the following steps to configure your lookup:
Click the image to change its size.
-
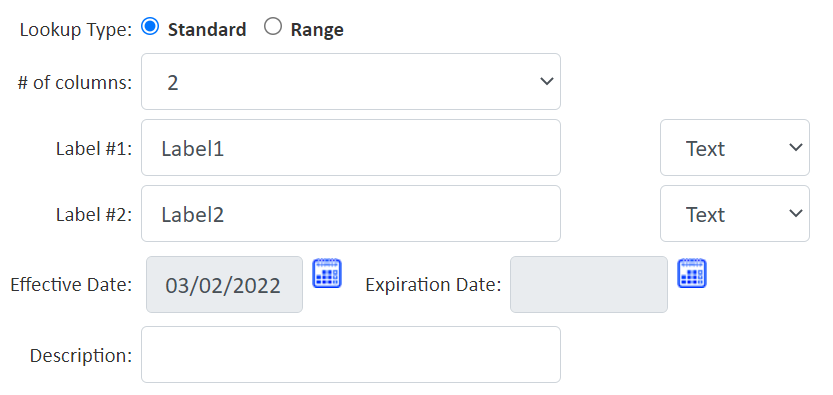
Lookup Type
Use the radio button to select whether your lookup returns:-
Standard (default) - a one-to-one result and view only one record at a time.
-
Range - multiple rows to view.
-
-
# of Standard Search Items
Use this drop-down field to select the number of columns (search items) the system will access before returning a value. When you select 1 from the drop-down, you’ll be presented with a Label #1 field. When you increase the number, the system adds additional rows for you to complete.
Click the image to change its size.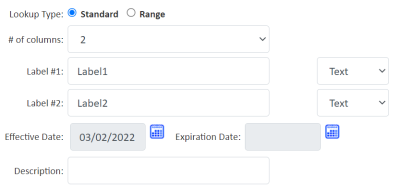
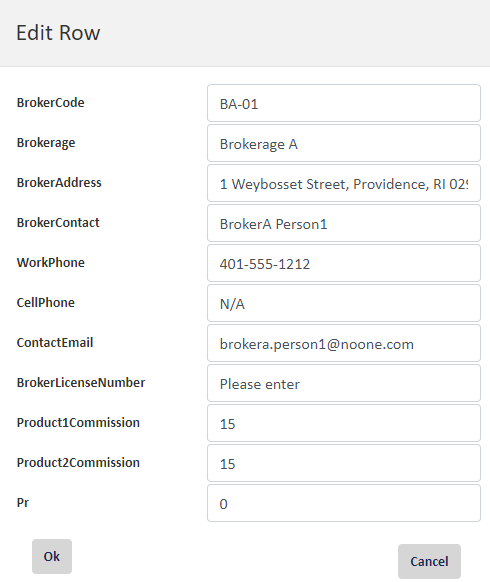
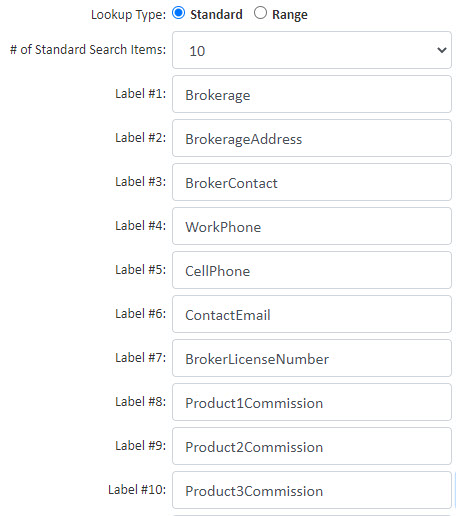
For our example, we will use 1 as the # of Standard Search Items and give it a label of BrokerCode. The drop-down to the right of the Label allows you to define the format of the data being searched. Is it a currency? Is it text? You can select the appropriate format in the drop-down list. A completed example is shown below:

-
You can leave the default label name as they are, Label1, Label2, and so on or you can provide more meaningful names for searches. For example, when searching for Brokers, Label1 might be BrokerID.
-
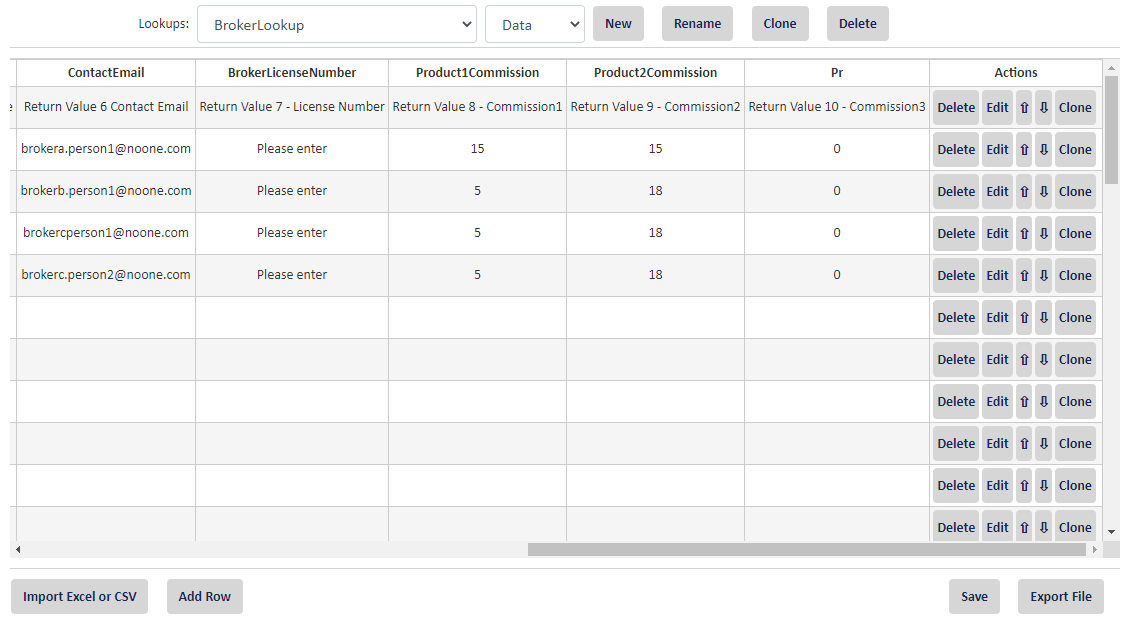
# of Return Values
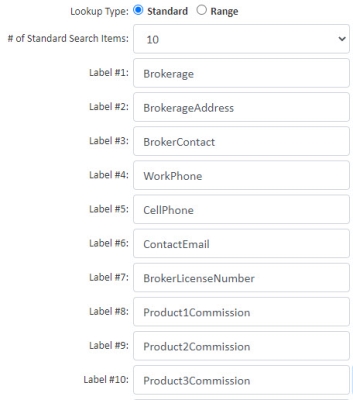
This represents the number of fields of information that can be returned based on the Search Items. Continuing with the Broker example, in the image shown below, the first column represents the 1 Standard Search Item (orange highlight). The columns in light green represent all the potential values under Return Values. In this case, there are 10; therefore, we would select 10 from the drop-down list provided. (10 is the maximum number of values the system returns).When you select a number of return values from the drop-down list, the same number of fields displays with default values of ReturnLabel1, ReturnLabel2, etc. You can leave the defaults, but it is recommended to label them something meaningful so that when they are used later in Workflows, the data is easily identifiable. For example, using the data below, the first Return Label might be called Brokerage. The second, BrokerageAddress. The third, BrokerContact. This way when they are used to populate data, the user can easily identify what data they are using. A completed example is shown below:

-
Effective Date
Represents a starting date when the look-up table you are defining is effective. The date automatically defaults to the date the look-up table is defined but you can change it to a future date or edit it later to a different date. -
Expiration Date
This is the date through which a Lookup is valid. For example, if one list applies for 2021, but an entirely different list applies for 2022, you might put an expiration date of 12/31/2021 for one list, while putting an expiration date for the 2022 list as 12//31/2022. By default, this field is blank which means the Lookup does not expire and will always be available for use unless otherwise specified. -
Transaction Type
The radio button allows the user to define whether the Lookup will apply to specify types of activity. By default, it is assumed that the Look-up function will apply whether a transaction is a new one or a renewal; however, if it is appropriate to limit lookups to either new or renewal transactions, simply select the appropriate radio button. -
Subsequent Lookup
Use the drop-down list provided to select a follow-up or secondary Lookup table that should process subsequent to/following the lookup currently being defined -
Description
Free-form text field that allows you to give a description to the Lookup (that is, used to look up broker contact and commission information)
-

-
Click Save to save the look-up table you created. Once saved, a green message block appears in the upper left corner of your screen and confirms the save was successful. (You may need to scroll back up to see the top of the page.)